
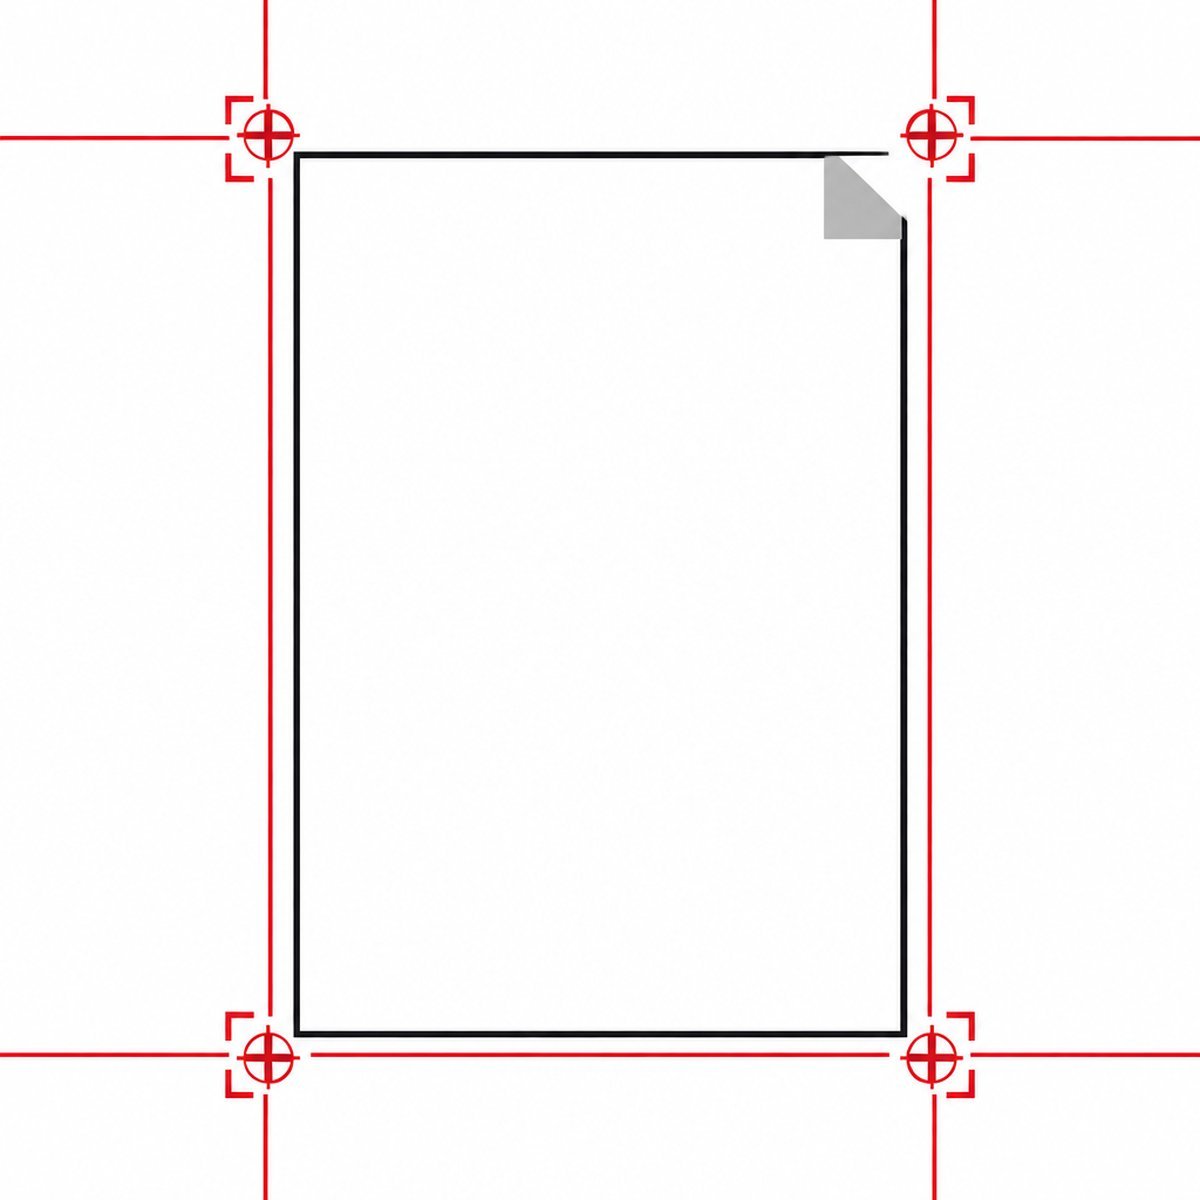

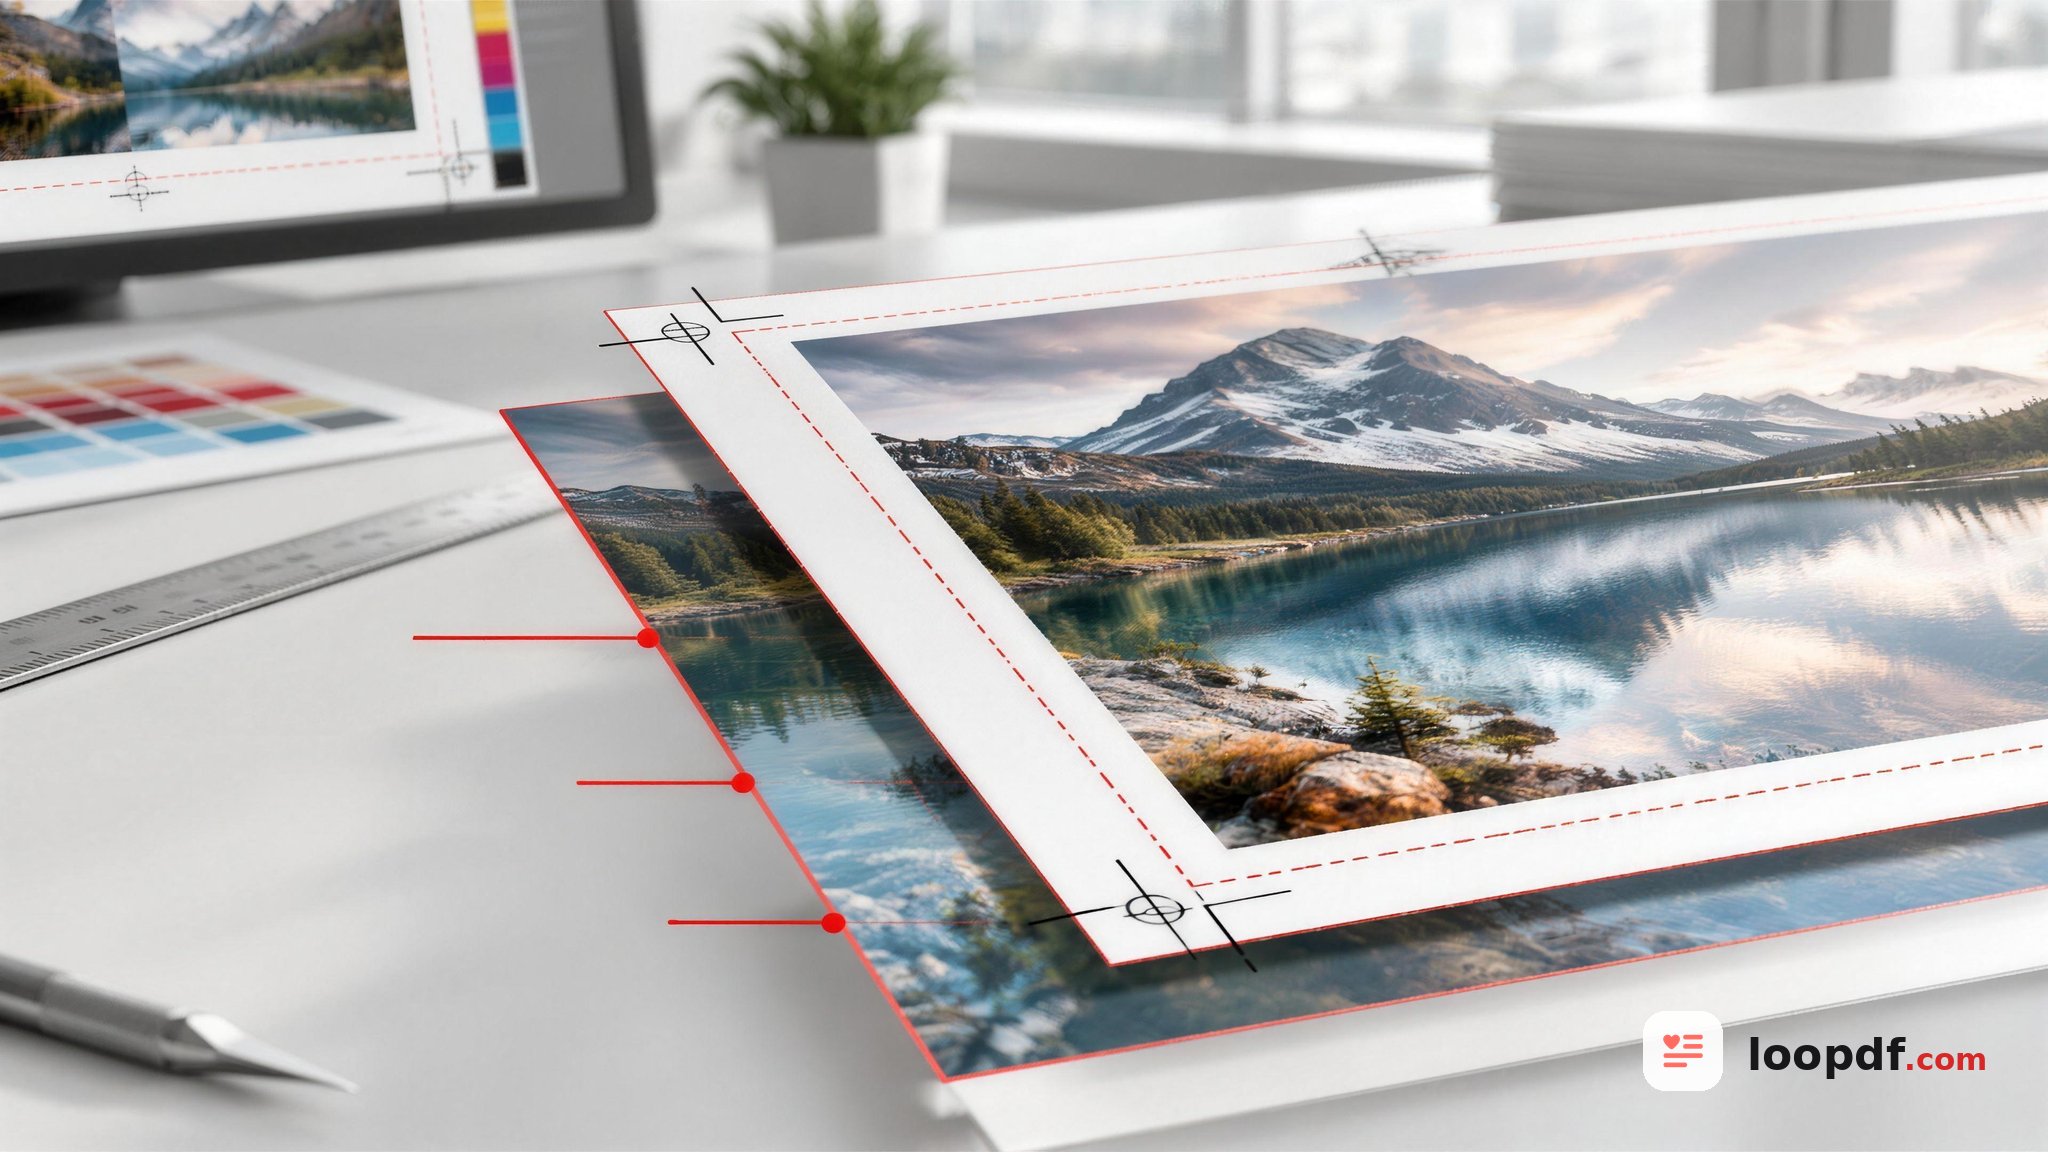
Bleed and crop marks are two instructions your PDF gives a commercial printer: bleed is extra color or image that extends past the final trim edge (usually 0.125 inches), and crop marks are the small corner lines that show exactly where the paper gets cut. Together they let a printer trim your document cleanly without leaving thin white slivers along the edges, which is why nearly every print-ready PDF for business cards, flyers, and brochures needs both.
Content Table
What bleed actually is
Bleed is the part of your design that extends beyond the finished size of the piece. If you are printing a 3.5 x 2 inch business card with a colored background, that background should not stop exactly at 3.5 x 2 inches. It should run a little further, into the bleed zone.
Here is why it matters: industrial cutting machines slice through stacks of hundreds of sheets at once, and the blade can drift by a fraction of a millimeter. If your ink stops right at the trim line, any tiny shift leaves a white edge where the paper shows through. Extending the artwork past the cut line means that even a slightly-off cut still lands inside solid color.
What crop marks are and why printers need them
Crop marks (also called trim marks) are thin lines placed at each corner of your document, just outside the final page size. They do not touch the artwork itself. Instead, they sit in the margin and point to the exact spot where the paper should be trimmed.
When a printer opens your file, the crop marks tell the cutting operator or the automated guillotine precisely where 3.5 x 2 inches begins and ends, even though the PDF page is slightly larger because of the bleed. Without crop marks, the printer has to guess your intended trim size, and guessing on a paid print run is how you get crooked or mis-sized cards.
A few related marks you may see alongside crop marks in a print-ready PDF:
- Registration marks: crosshair targets that help align each ink color (cyan, magenta, yellow, black) so they print in perfect position.
- Color bars: small swatches used to check ink density and consistency across the sheet.
- Bleed marks: lines showing where the bleed area ends, distinct from the crop (trim) marks.
Standard bleed settings and measurements
Most commercial printers ask for the same bleed amount, but it varies slightly by region and product. Always check your printer's spec sheet before exporting.
| Setting | Common value | Notes |
|---|---|---|
| Bleed (US) | 0.125 in (1/8") | Standard for cards, flyers, brochures |
| Bleed (metric) | 3 mm | European standard |
| Large format | 0.25 in or more | Posters, banners, signage |
| Safe zone | 0.125 in inside trim | Keep text and logos here |
The safe zone is the flip side of bleed. Just as artwork should extend past the trim line, important content (text, logos, phone numbers) should stay well inside it. Keep at least 0.125 inches of clearance between any critical element and the cut edge so a slightly-off trim never clips your words.
How to add bleed and crop marks to a PDF
The exact steps depend on your software, but the workflow is the same everywhere. In design apps you set bleed before you export; in a finished PDF you add crop marks during export or with a PDF editor.
If you are designing from scratch
- Set the document bleed when you create the file (0.125 in on all sides is the default in most layout tools).
- Extend any background colors and images all the way to the bleed line, not just to the trim edge.
- Keep text and logos inside the safe zone.
- When exporting to PDF, turn on crop marks and use document bleed settings in the export dialog.
If you already have a finished PDF
An existing PDF made without bleed cannot magically gain artwork at the edges, the content was never drawn there. But if your design already includes the extra bleed area and just lacks the marks, you can add crop marks during a PDF export or with an editing tool. If your file is missing the bleed area entirely, you will need to go back to the original design and extend the artwork.
Once your file is ready, it also helps to keep the PDF at a manageable size for upload to a print portal. If your export came out heavy with high-resolution images, running it through a PDF compression tool can trim the file size without dropping it below the 300 DPI that print shops expect. And if you ever need to combine multiple designs into one submission, a merge PDF tool keeps everything in a single print-ready file.
Common mistakes that ruin a print job
- No bleed at all. The number one reason files get bounced back. White edges appear after trimming.
- Text too close to the edge. Ignoring the safe zone means the cutter clips your words.
- Crop marks placed inside the artwork. Marks must sit outside the trim, in the margin, or they print on the final piece.
- Flattening away the bleed. Some "reduce file size" exports crop the page to trim size and delete the bleed. Always confirm the bleed survived export.
- RGB instead of CMYK. Not a bleed issue, but a related print killer, colors shift when converted at the shop. Check your printer's color requirement.
- Wrong bleed amount. Adding 3 mm when the printer asked for 5 mm can still cause problems on certain products.
When you do and do not need them
Bleed and crop marks are only needed when a design's color or images reach the edge of the paper and the piece will be professionally trimmed.
You need bleed and crop marks when:
- Your design has a background color, photo, or graphic that touches any edge.
- You are sending the file to a commercial or offset printer.
- The final product is cut from a larger sheet (business cards, postcards, flyers, book covers).
You can skip them when:
- Your design has a white border all the way around, so the edge is already paper-colored.
- You are printing at home or on an office printer that cannot print edge-to-edge anyway.
- The document is a plain letter, form, or report that stays at standard page size.
For the exact bleed distance, page setup, and file format your specific printer wants, their preflight or "file setup" page is the authority. Adobe also publishes a solid overview of bleed and slug areas that explains how the concept works across professional layouts, and the printing bleed entry on Wikipedia is a quick neutral reference if you want the background.

Shrink your print-ready PDF without wrecking the quality
High-resolution files with bleed and crop marks get large fast. Compress your print-ready PDF so it uploads to any print portal while staying sharp enough for professional trimming.
Compress your PDF →
The standard is 0.125 inches (1/8 inch) in the US and 3 mm in Europe, added to every side of the document. Large format work like posters and banners often needs 0.25 inches or more. Always check your printer's spec sheet, since some products require a different amount.
Crop marks (trim marks) show where the paper gets cut to the final size. Bleed marks show where the bleed area ends, further out from the trim line. Crop marks tell the cutter the finished dimensions, while bleed marks indicate how far your artwork should extend past that cut.
Yes, if the file already contains the bleed artwork you can add crop marks during a fresh export or with a PDF editor. But if the original design never extended past the trim edge, adding marks will not create the missing bleed. In that case you must return to the source file and extend the artwork.
Usually not. If a solid white margin surrounds your design all the way to the edge, a slightly-off trim just leaves more or less white, which is barely noticeable. Bleed matters only when color, photos, or graphics reach the paper's edge and any white sliver would be obvious.
Add the bleed amount to every side of the final trim size. A 3.5 x 2 inch business card with 0.125 inch bleed becomes a 3.75 x 2.25 inch PDF page. The extra area is trimmed off after printing, so it never appears on the finished product.