

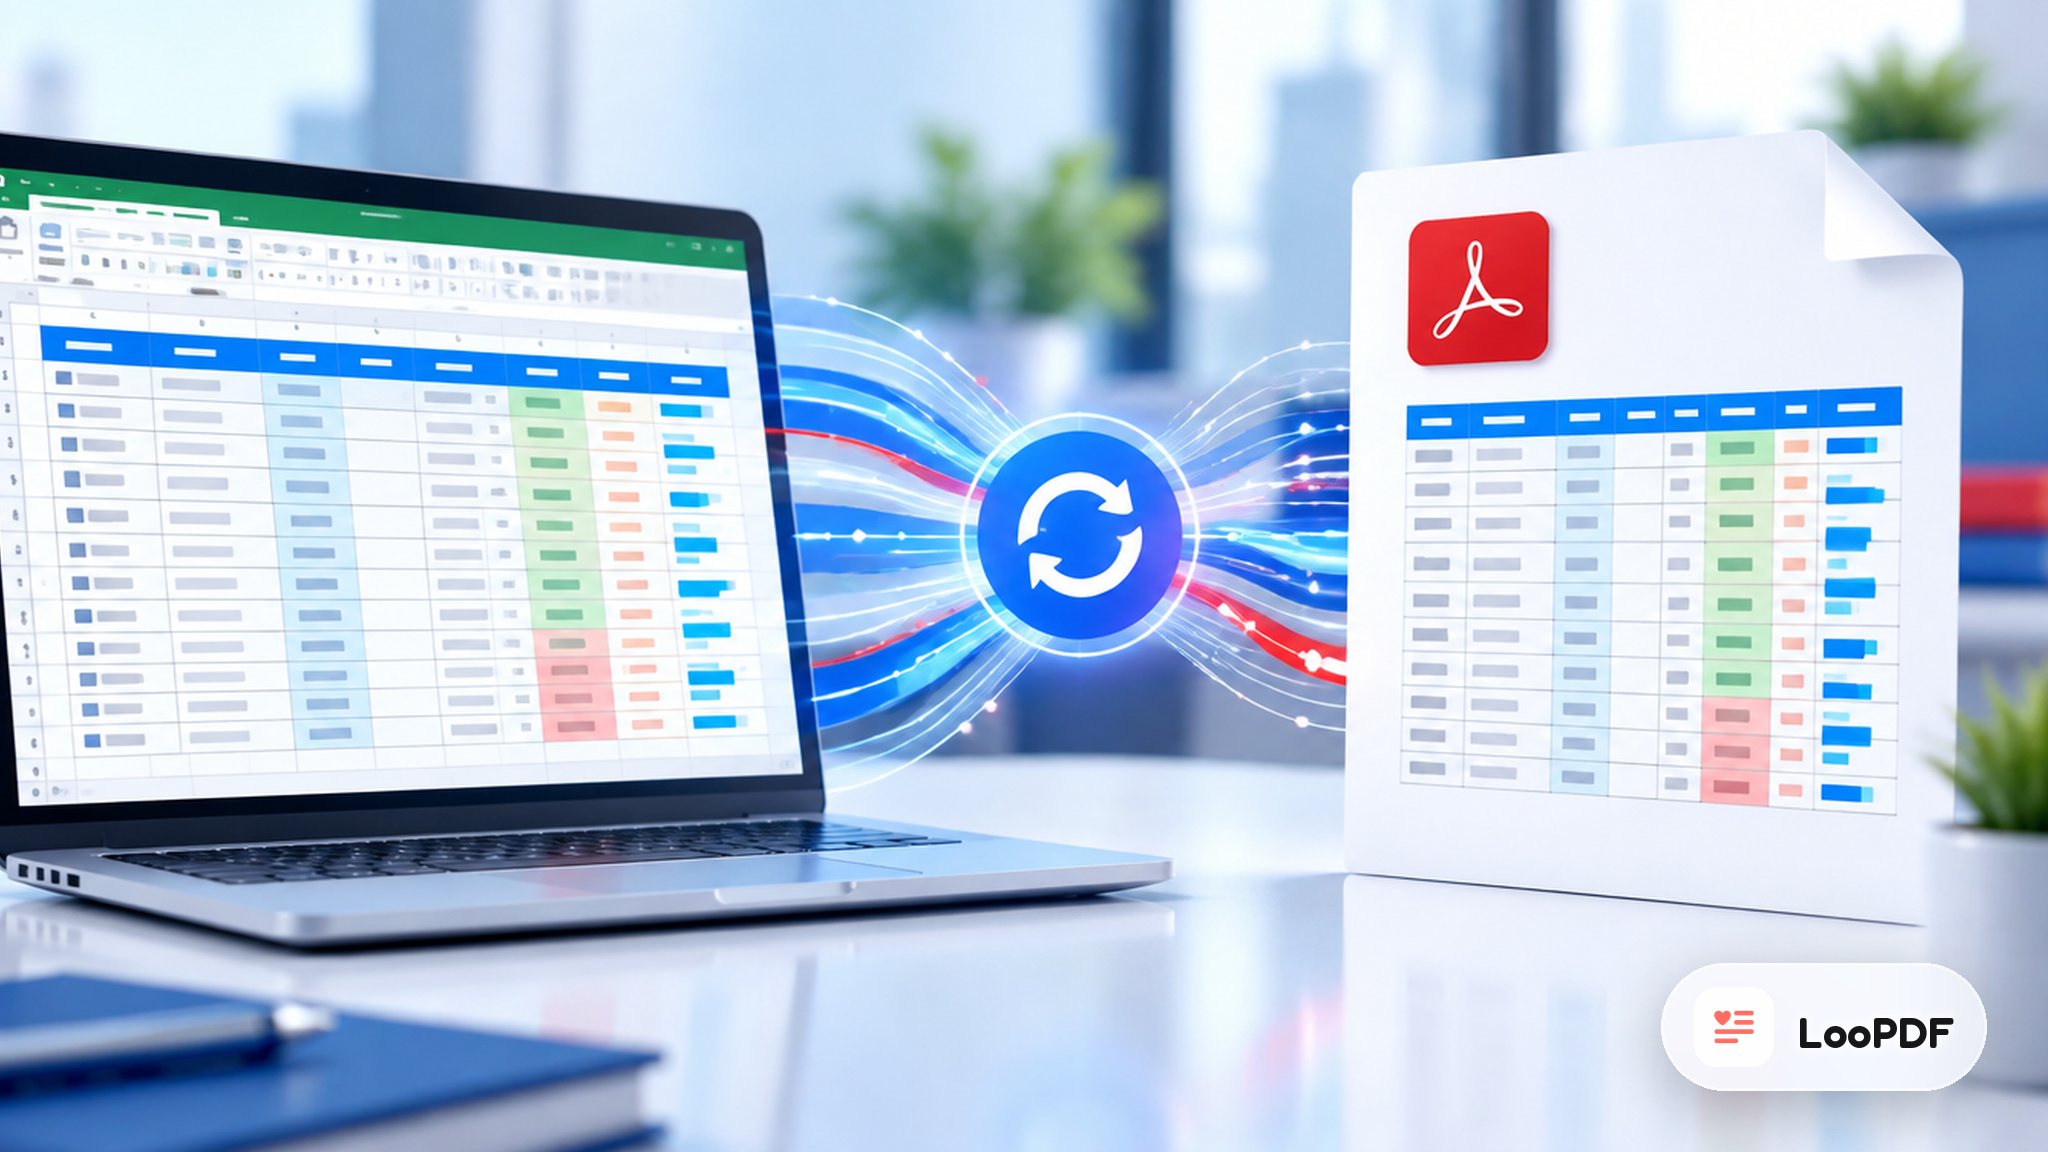
Columns cut off at the page edge, header rows that show only on page one, and colors that shift or vanish: that is what often happens to a carefully formatted Excel table when it becomes a PDF. Merged cells break across pages, and a polished report suddenly looks like a jumbled mess. This guide walks you through proven methods to convert Excel to PDF without losing formatting, with actionable steps you can apply immediately.
Key Takeaways:
- Excel's built-in PDF export handles most formatting but requires specific settings for complex tables
- Print area and page break preview are essential pre-conversion steps for multi-page documents
- Online converters work best for quick conversions when Excel is unavailable
- A pre-conversion checklist catches the most common formatting problems before you export
Content Table
Why Excel Tables Break When You Save as PDF
Business documents demand consistency. When you share a quarterly sales report or budget proposal, recipients need to see exactly what you created, regardless of their software or device. PDFs lock your document's appearance, making them the standard for contracts, invoices, and official records.
Before diving into solutions, you need to understand why tables break in a PDF. Excel and PDF handle visual elements differently at a fundamental level.
The Core Translation Problem
Excel stores formatting as instructions (apply red fill if value is negative), while PDFs store formatting as static visual elements. This translation creates specific challenges:
| Excel Feature | PDF Translation Issue | Risk Level |
|---|---|---|
| Conditional Formatting | Colors preserved, but rules lost | Medium |
| Merged Cells | May split across page breaks | High |
| Complex Formulas | Results display correctly | Low |
| Column Auto-Width | Often truncates content | High |
| Hidden Rows/Columns | Remain hidden (as expected) | Low |
| Cell Comments | Not included by default | Medium |
Understanding these translation points helps you prepare your spreadsheet before conversion, dramatically reducing formatting failures.
Method 1: Save Excel as PDF From Excel
Microsoft Excel's native export function handles most conversion needs effectively when configured properly. Here is the step-by-step process to save Excel as PDF while preserving your formatting:
Step-by-Step Export Process
- Set your print area first: Select the cells you want to convert, then go to Page Layout > Print Area > Set Print Area
- Access export options: Click File > Export > Create PDF/XPS Document
- Click Options button: This opens advanced settings most users miss
- Configure critical settings:
- Select "Selection" if you set a print area, or "Entire Workbook" for all sheets
- Check "Document properties" to include metadata
- Enable "PDF/A compliant" for archival documents
- Choose optimization: Select "Standard" for print quality or "Minimum size" for email attachments
- Publish: Click OK, name your file, and save
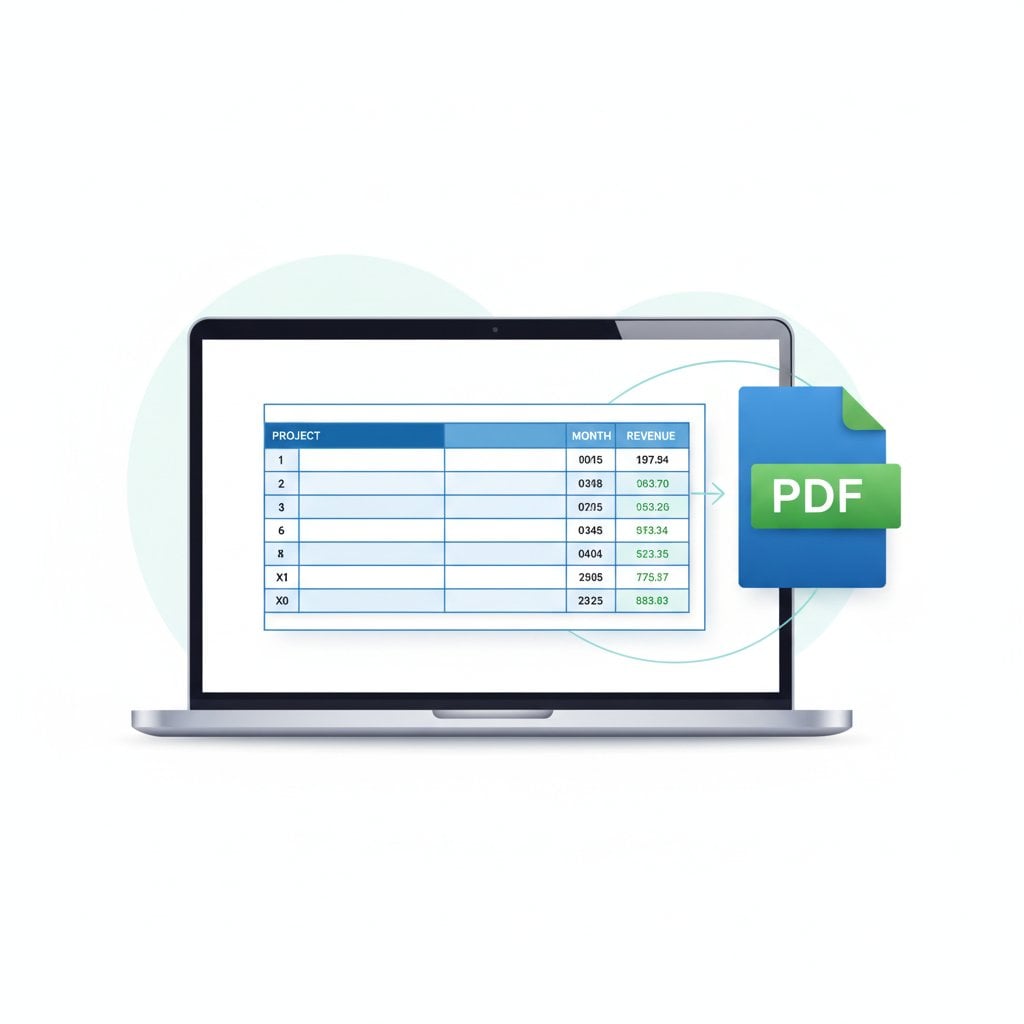
Pro Tip: Always preview your document using File > Print before exporting. The print preview shows exactly how your PDF will look, including page breaks and margins.
Method 2: Use an Online Converter
When Excel is not available or you need quick conversions, online tools provide reliable alternatives. LooPDF's online converter turns a workbook into a PDF without Excel installed. It uses each sheet's own page setup, so set the print area, print titles and fit-to-page in Excel first.
When to Use Online Converters
- Working from a device without Microsoft Office
- Converting files received from others quickly
- Processing multiple files in batch
- Needing consistent output across different Excel versions
| Converter Type | Pros | Cons | Best For |
|---|---|---|---|
| Desktop Excel | Full control, offline | Requires license | Complex documents |
| Our Online Tools | Fast, no install needed | Requires upload | Quick conversions |
| Google Sheets | Free, collaborative | Limited formatting support | Simple tables |
Method 3: Print to PDF Advanced Techniques
The Print to PDF method offers granular control over page layout that the standard export sometimes lacks. This approach works particularly well for keeping tables intact across multiple pages.
Configuring Print Settings for Tables
- Open Page Setup: Go to Page Layout > click the dialog launcher in Page Setup group
- Set orientation: Choose Landscape for wide tables (more than 8 columns)
- Configure scaling: Under "Scaling," select "Fit to: 1 page(s) wide by [blank] tall"
- Define margins: Use Narrow margins for maximum table space
- Add headers/footers: Include page numbers and document titles
Managing Page Breaks
Use View > Page Break Preview to see exactly where your table will split. Drag the blue lines to adjust breaks manually. This prevents tables from splitting mid-row, which destroys readability.
Pro Tips for Perfect Table Formatting
Apply this pre-conversion checklist before every conversion:
Pre-Conversion Checklist
- Column widths: Manually adjust all columns to show complete content (double-click column borders to auto-fit)
- Row heights: Set consistent heights for data rows (typically 15-20 points)
- Font choices: Use standard fonts like Arial or Calibri that render consistently
- Border weight: Use at least 1pt borders; hairline borders may disappear
- Color contrast: Ensure text remains readable against background colors
- Print titles: Repeat header rows on each page via Page Layout > Print Titles
Example: A 50-row commission table spans four pages. By setting Print Titles to repeat row 1 (headers) on each page, recipients could understand data on pages 2-4 without flipping back to page 1.
Troubleshooting Common Issues
Even with preparation, issues arise. Here are solutions for the most frequent problems when you convert:
Cut-Off Tables
Problem: Right columns missing from PDF
Solution: Switch to Landscape orientation or use "Fit Sheet on One Page" scaling. Alternatively, reduce font size by 1-2 points.
Blurry Text
Problem: Parts of the PDF appear fuzzy or pixelated
Solution: Text in the PDF stays sharp. Blur comes from charts, images or scaling below about 75%. Export using "Standard" quality instead of "Minimum size" and keep scaling at 75% or above.
Missing Borders
Problem: Cell borders disappear in PDF
Solution: Increase border weight to at least 1pt. Light gray borders on white backgrounds often vanish; use darker colors.
Color Shifts
Problem: Colors look different or disappear in the PDF
Solution: Go to Page Layout > Page Setup > Sheet and untick Black and white and Draft quality. Black and white outputs fills and font colors without color, and Draft quality leaves out gridlines and most graphics. If colors matter critically, export a test page first.
Missing Gridlines
Problem: The gridlines you see in Excel are not in the PDF
Solution: Go to Page Layout > Sheet Options and tick Print under Gridlines.
#### in Cells
Problem: Cells show #### instead of numbers or dates
Solution: The column is too narrow for its value. Widen it before exporting.
If the PDF still needs a fix after conversion, edit it with loo, LooPDF's PDF editor.
Best Practices for Different Document Types
Financial Reports
Use consistent number formatting throughout. Set negative numbers to display in red with parentheses. Enable "Print Titles" to repeat account headers on every page. Consider PDF/A format for compliance archiving.
Data Dashboards
Dashboards often include charts alongside tables. Export the entire sheet rather than selections to maintain relative positioning. Use "Fit to One Page" to prevent charts from splitting.
Presentation Tables
For tables going into presentations, maximize visual impact. Use bold headers, alternating row colors, and generous white space. Export at highest quality since file size matters less than appearance.
Which Method to Use
Successfully converting Excel to PDF without losing formatting requires understanding both the translation challenges and the tools available. For most business users, Excel's built-in export handles daily needs when configured correctly. Our tools provide excellent alternatives when you need quick online conversions or lack desktop Excel access.
Choose your method based on context:
- Complex multi-sheet workbooks: Use Excel's native export with custom options
- Quick single-table conversions: Use our Excel to PDF tool
- Precise page layout control: Use Print to PDF with manual page breaks
Apply the pre-conversion checklist consistently, and you will eliminate the frustrating rework cycles that waste hours every week.
No Excel on this computer?
Convert a workbook to PDF with our free online converter, using each sheet's own page setup. No software installation required.
Try Our Free Tool →
Colors usually go missing because Black and white is ticked in Page Layout > Page Setup > Sheet, which outputs fills and font colors without color. Draft quality on the same tab leaves out gridlines and most graphics. Untick both, then export a test page to check the colors before sending an important document.
Use the Print Titles feature. Go to Page Layout, click Print Titles, then select the rows you want repeated in the "Rows to repeat at top" field. This ensures your header row appears on every page of your converted PDF, making multi-page tables readable.
Yes. When using Excel's export function, click Options and select "Entire Workbook" instead of "Active Sheet." Each worksheet becomes a separate section in the PDF. You can also select specific sheets by holding Ctrl and clicking sheet tabs before exporting. LooPDF's online converter includes every sheet in the workbook.
Use "Fit Sheet on One Page" for single-page tables or "Fit All Columns on One Page" for longer documents. Find these in Page Layout under the Scale to Fit group. Avoid scaling below 70% as text becomes difficult to read.
Formulas do not transfer to PDF since PDFs display static content only. However, the calculated results of your formulas appear correctly. The PDF shows exactly what you see on screen. If you need to share editable formulas, keep the original Excel file alongside your PDF.